How to do a fiber optic mechanical splice: steps and tips
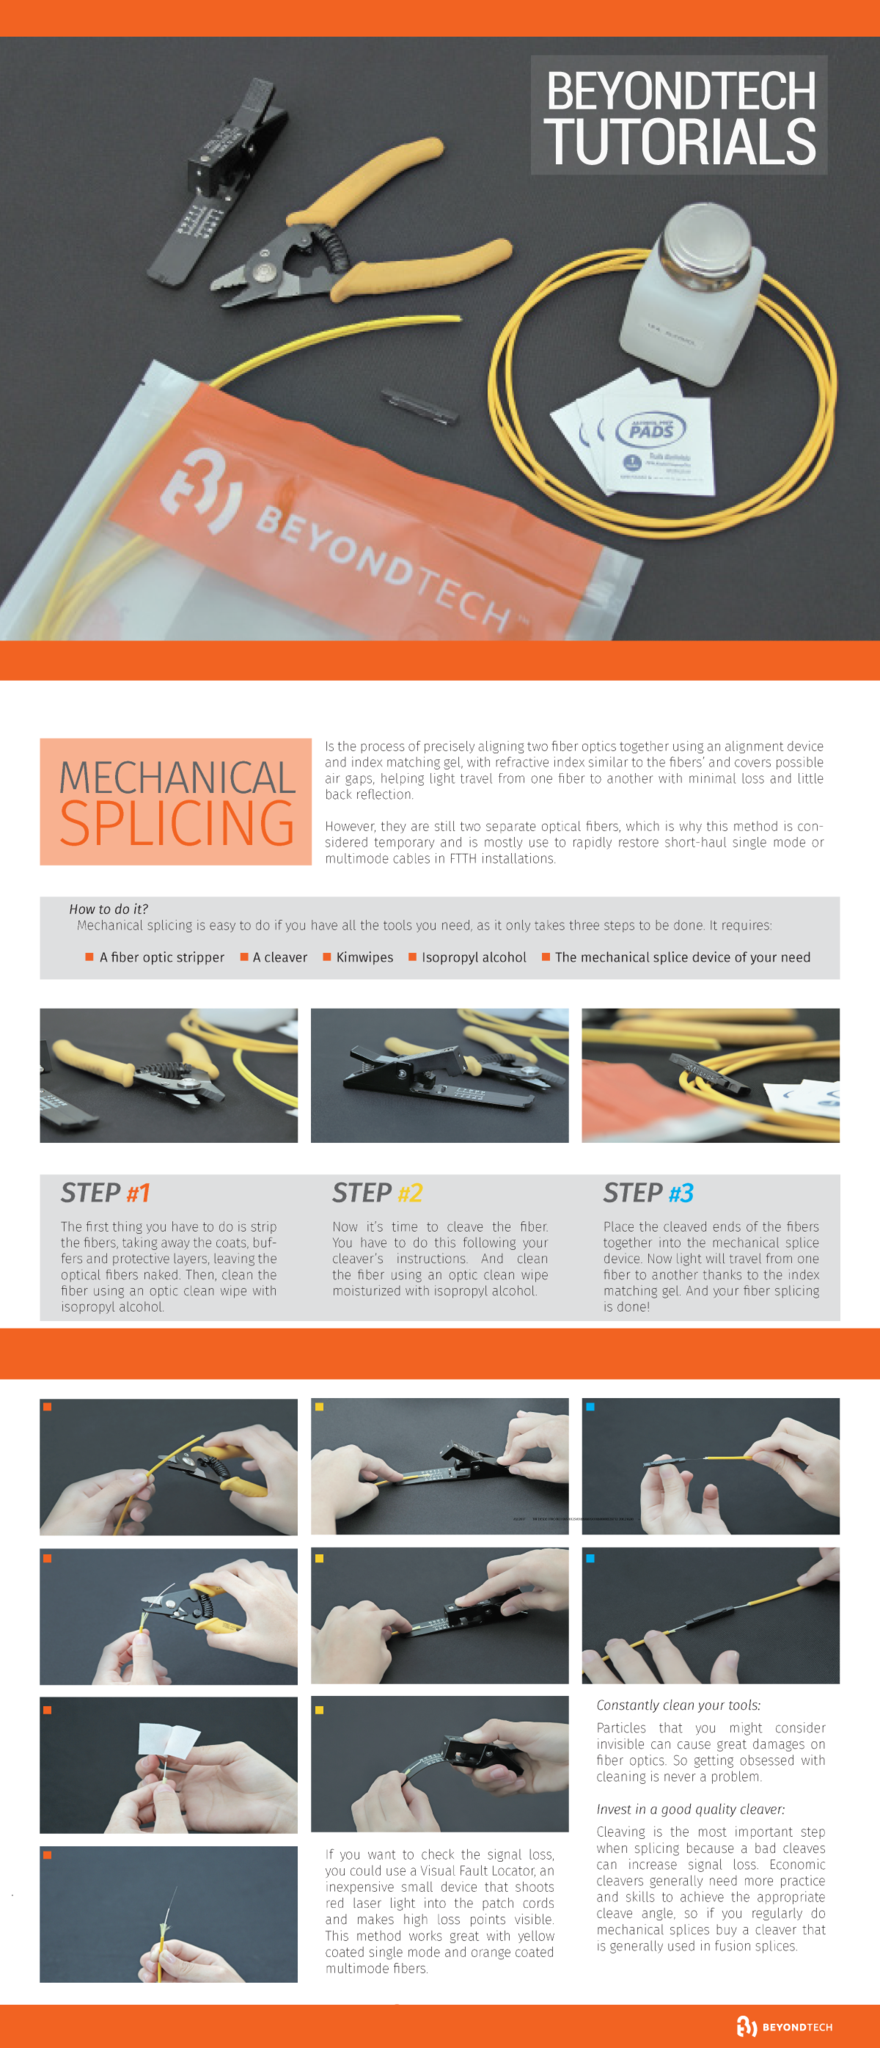
Mechanical splicing is the process of precisely aligning two fiber optics together using an alignment device and index matching gel that has a similar refractive index and covers the possible air gaps, helping light travel from one fiber to another with minimal loss and little back reflection.
However, they are still two separate optical fibers, which is why this method is considered temporary and is mostly use to rapidly restore short-haul single mode or multimode cables in FTTH installations.
How to do it? We present you a series of infographic with the steps, aswell as a full-text guide.

Mechanical splicing is easy to do if you have all the tools you need, as it only takes three steps to be done. It requires:
- A fiber optic stripper.
- A cleaver.
- Isopropyl alcohol
- A mechanical splice device of your need.
Step 1: The first thing you have to do is strip the cables, taking away the coats, buffers and any other protective layers, leaving the optical fibers naked. Then clean the fibers using an optic clean wipe soaked with isopropyl alcohol.
Step 2: Now it’s time to cleave the fibers. You have to do this following the instructions of the cleaver you are using.

Step 3: Place the cleaved ends of the fibers together into the mechanical splice device. Now light will travel from one fiber to another thanks to the index matching gel. And your fiber splicing is ready!

If you want to check the signal loss, you could use a Visual Fault Locator, an inexpensive small device that shoots red laser light into the patch cords and makes high loss points visible. This method works great with yellow coated single mode and orange coated multimode fibers. If you want to learn more about the difference between singlemode and multimode, click here.
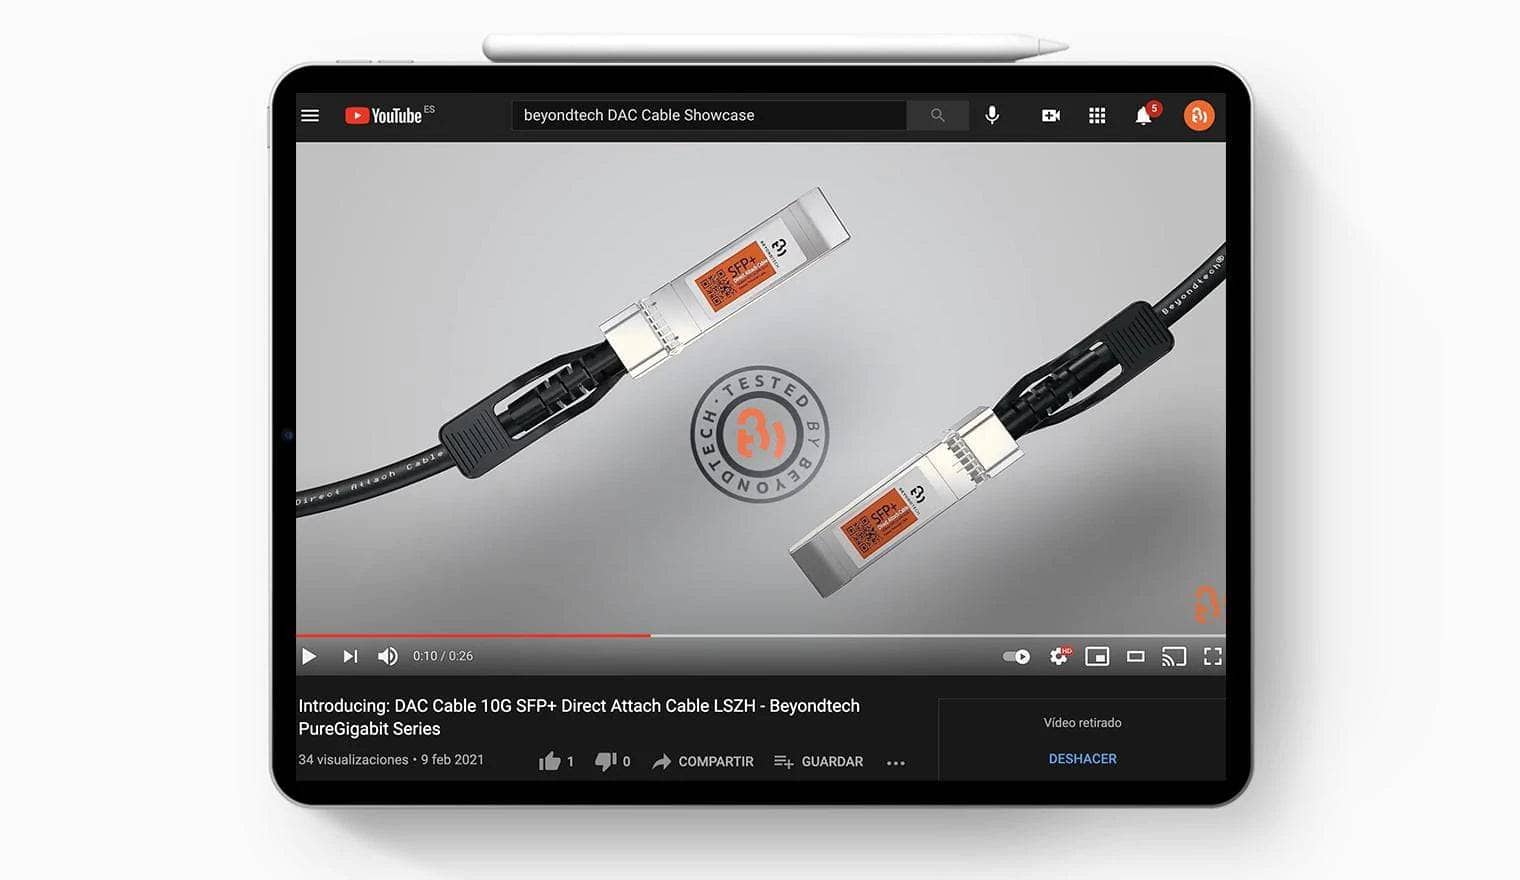
This video will give you a better idea of how to do it easily
Get better splices
Constantly clean your tools: Particles that you might consider invisible can cause great damages on fiber optics. So getting obsessed with cleaning is never a problem.
Buy an expensive cleaver: Cleaving is the most important step when splicing because a bad cleave can increase signal loss. Economic cleavers generally need more practice and skills to achieve the appropriate cleave angle, so if you regularly do mechanical splices buy a cleaver that is generally used in fusion splices.
But what happens if you need to do an emergency restoration and don’t have a cleaver with you? Jim Hayes, president of the Fiber Optic Association (FOA) advises to use a scriber and an inexpensive cleave fixture that consists on a small piece of flexible plastic. Place the fiber on the plastic, scratch it with the scriber and it’s done.
The best tools
The FOA suggest using the ULTRA splice device since it is easy to install, inexpensive and high performance. Its biggest advantage is that it has visible glass on top with pre-loaded index matching gel that allows you to see the optical fibers during the installation. The 3M Fibrlok is one of the most popular mechanical splices too due to its elegant design and good throughput.

When it comes to cleavers, the Fujikura AFL CT-06 is highly recommended because it provides high quality cleaving at an economical price. Designed for cleaving single fibers,this cleaver’s blade can make over 48 thousand cleaves. The Sumitomo FC-7 Cleaver is highly recommended because it fits in the palm of your hand which makes it easy to take to any location.
Choosing the proper stripper according to the coding sizes of the fiber is also really important because you need to be careful not to scratch the fiber while removing the buffer. No-Nik, Micro-Strip and Miller stripper are the most commonly used by technicians due to their quality.
Do you usually do mechanical splices? Show us your work tagging us on Twitter, Facebook or Instagram!


